Survive a Black Hole Controls
Movement, activate timing, potions, shop, and hazard reads for PC and mobile.
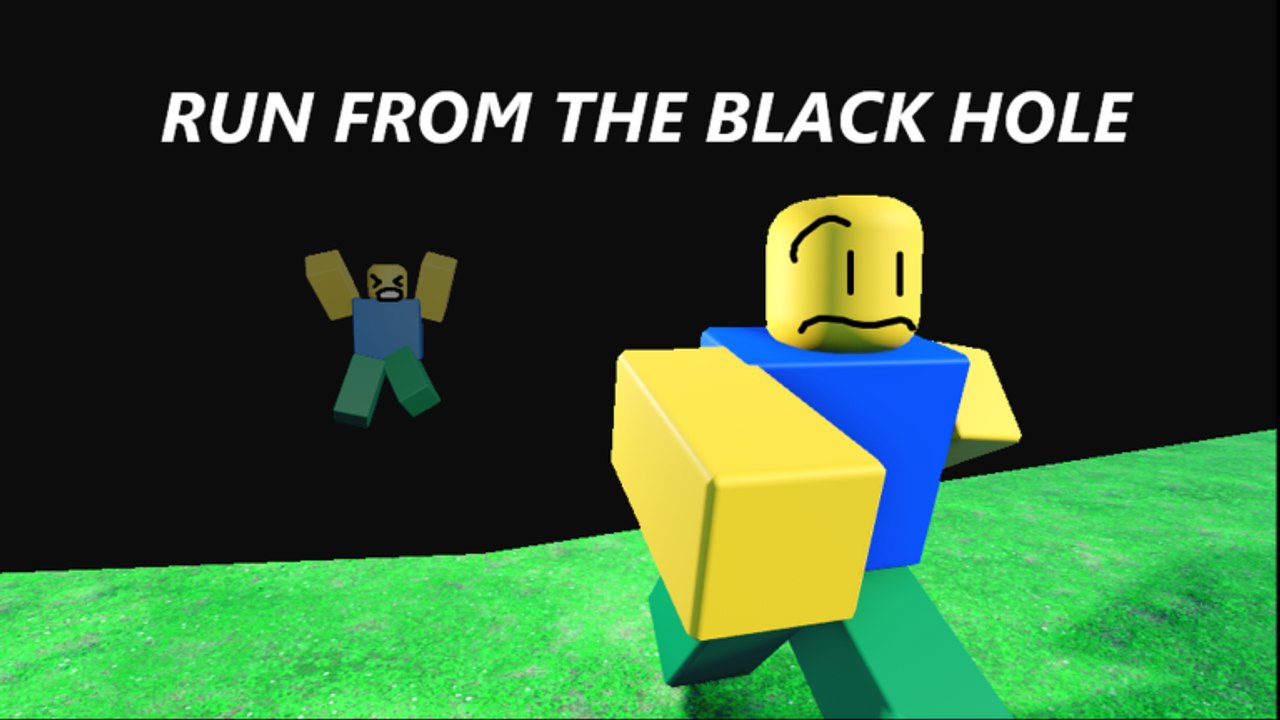
Mastering controls in Survive a Black Hole is less about memorizing a unique keybind sheet and more about chaining Roblox movement with perfect activate timing, potion use, shop decisions, and hazard avoidance. The experience by jeuhari30 still runs on standard Roblox input, but the loop—activate a Black Hole that grows toward size 2048, escape for stokens, survive hazards, shrink, repeat—punishes sloppy camera and late prompts.
This guide covers movement fundamentals, when to activate, Speed Potions and Health potions, the in-experience shop, slip / prickly / crate hazards, and PC versus mobile habits. Pair it with How to Survive, the Stokens Guide, and the full Badges list.
Roblox movement baseline
Exact binds follow your device and Roblox settings:
- PC — WASD move, Shift sprint when enabled, Space jump, mouse look, E or proximity prompts for world interactions (activate, shop, potions, crates).
- Mobile — virtual joystick, jump button, drag-to-look; keep sensitivity high enough to glance at the hole without losing your sprint line.
- Console — left stick move, right stick camera, face-button jump/interact per Roblox defaults.
Intent matters more than labels: move early, jump to clear low debris, interact only when the prompt matches your plan. If a prompt appears near a marked activator, assume it can start the singularity.
Activate timing (the dangerous prompt)
Activating starts growth and feeds the YOU WHAT?!?! badge path. Control tips:
- Face an open outward lane before you confirm the prompt.
- Tap interact and pivot the same second—do not celebrate in place.
- Never activate inside boxed geometry, prickly clusters, or slip ice you cannot leave quickly.
- If the lobby is already mid-growth, wait for shrink.
- Do not confuse shop, crate, or portal prompts with the activator.
Deep escape craft lives on How to Survive. Role ranking sits on Survival Strategies.
Speed Potions
Speed Potions are the mobility tool players drink during escapes. Practical control habits:
- Drink when you already know your vector—not while spinning the camera for clips.
- Save a potion for late growth near size 2048, when straight sprints matter most.
- On crowded servers, drink before you enter a funnel so you can break out sideways.
- Badge hunters chasing GOTTA GO FAST need ten Speed Potion drinks across sessions; track drinks, not vibes.
- Do not chug every potion the moment you loot one if your stoken goal needs a later clutch.
Speed does not delete bad geometry. A fast run into a dead-end still feeds You fell in.
Health potions and low-HP survival
Health potions pair with damage from hazards and close calls. The badge I need a Health Potion asks you to survive with under 20 HP—that is a deliberate low-HP clear, not a heal-spam trophy.
Control advice:
- Heal when you are safe on the rim after a prickly or slip hit, not while the pull is already locking you.
- For the low-HP badge, plan a controlled escape after damage instead of full topping off—see Win Streaks and Badges.
- On mobile, pre-place potion UI focus so you are not hunting buttons mid-panic.
Shop controls and the buy badge
A shop exists in the experience. Buying at least one item unlocks Great doing buisness with ya (spelling as shown on the badge). Control tips:
- Open the shop during shrink or calm phases, never mid-devour.
- Confirm you can afford the item with banked stokens—farm cycles are explained in the Stokens Guide.
- Buy once for the badge, then only buy tools that match your session goal (speed, health, cosmetics such as hats).
- Ignore chat sellers; the game is free on Roblox and not for sale off-platform.
Hazards: slip, prickly, crates
Slip hazard
Ice-like or slick surfaces punish sharp turns. Counterplay: straighten your camera, reduce panic strafe, and accept a wider arc. The Careful! badge tracks slipping while escaping—wear it as a lesson, then slow your inputs on slick tiles.
Prickly hazard
Spiky props deal damage and steal focus. Strafe around, do not hug them for cover (cover does not stop a Black Hole). Prickly! commemorates learning this the hard way.
Crates / company property
Crates invite loot greed. Open them in calm windows. Mid-growth crate AFK is how Beep Bop Bap and fell-in moments overlap. Grab, move, reassess radius.
Hats found in the world feed Hat Finder—treat hat hunts as shrink-phase side objectives, not growth-phase detours.
PC versus mobile control tips
| Topic | PC | Mobile |
|---|---|---|
| Camera | Mouse flick for peripheral hole checks | Short drag glances; avoid pinch mid-sprint |
| Activate | Keyboard/proximity with clear FOV | Thumb reach: stand so the prompt is easy without covering jump |
| Potions | Hotbar or prompt without stopping feet | Pre-practice the drink button in a quiet lobby |
| Shop | Mouse click during shrink | Open only when joystick can rest |
| Hazards | Strafe keys for prickly gaps | Wider arcs; fewer micro-adjustments on slip |
Console players should mirror PC habits: bind comfort first, then practice activate-and-pivot until muscle memory sticks.
Session control checklist
- Sensitivity set before the first activation.
- One primary escape vector spoken out loud to yourself.
- Potion plan (save for late / drink for streak / save for low-HP badge).
- Shop visit only after shrink if badge or gear is the goal.
- Hazard eyes: slip tiles, prickly props, crate greed.
- After death, change one input habit—not your entire playstyle.
A printable-style loop lives on the Survival Checklist.
Linking controls to progression
Clean inputs raise survive rate, which raises stoken pace and unlocks streak badges (5 / 10 / 25 Win Streak). Messy inputs farm You fell in, Thats on you (die to a hole you activated), and Almost Out (still inside when the round ends). Decide which story you want before you touch the activate prompt.
Common control mistakes
- Holding forward into slip while spam-jumping
- Activating then opening the shop UI
- Drinking Speed Potions facing the hole for a cinematic
- Healing to full when you needed a sub-20 HP survive badge
- Mobile pinch-zoom during late growth
- Chasing hats through prickly fields mid-devour
Practice drills
Drill A: Ten escapes with zero camera centering on the hole.
Drill B: Three activate-and-pivot reps with no post-activate emotes.
Drill C: One shrink-phase shop purchase for the business badge.
Drill D: Snowscape run focusing only on slip and footing—see Maps Guide and Portal to Persistence.
Drill E: Controlled low-HP survive attempt after a prickly hit.
Where to go next
- Getting Started — first lobby plan
- How to Survive — pull reading
- Stokens Guide — economy loop
- Badges — all twenty achievements
- Win Streaks — streak and unscathed goals
- Tools Hub — checklists and session tools
Controls will not save a doomed corner activate. They will turn an average lane into a repeatable stoken machine. Bind comfort, respect hazards, time potions, buy smart, and keep your thumbs ready for the next growth cycle.
Frequently Asked Questions
Quick answers about Survive a Black Hole codes, survival, and stokens.
What are the Survive a Black Hole controls on PC?
Use standard Roblox movement (WASD, jump, sprint if enabled) plus proximity prompts to activate the Black Hole, use potions, open the shop, and interact with crates.
When should I drink a Speed Potion?
Drink when your escape vector is already chosen—ideally before late growth or crowded funnels—not while standing still for a clip.
How do Health potions relate to badges?
Heal to stay alive in normal farms. For I need a Health Potion, survive a clear with under 20 HP instead of topping off immediately.
How do I unlock the shop badge?
Buy at least one shop item with stokens during a calm or shrink phase to earn Great doing buisness with ya.
What hazards should I watch while moving?
Slip surfaces, prickly damage props, and crate greed mid-growth. Each has related badges and can ruin an otherwise clean escape.
Any mobile-specific tips?
Raise look sensitivity for quick radius checks, avoid pinch-zoom mid-sprint, and practice potion/shop buttons before a serious streak attempt.